
Building Envelope Basics for West Coast Projects
A clear guide to water, air, vapor, and thermal control layers, plus the transitions that determine wall and roof durability.
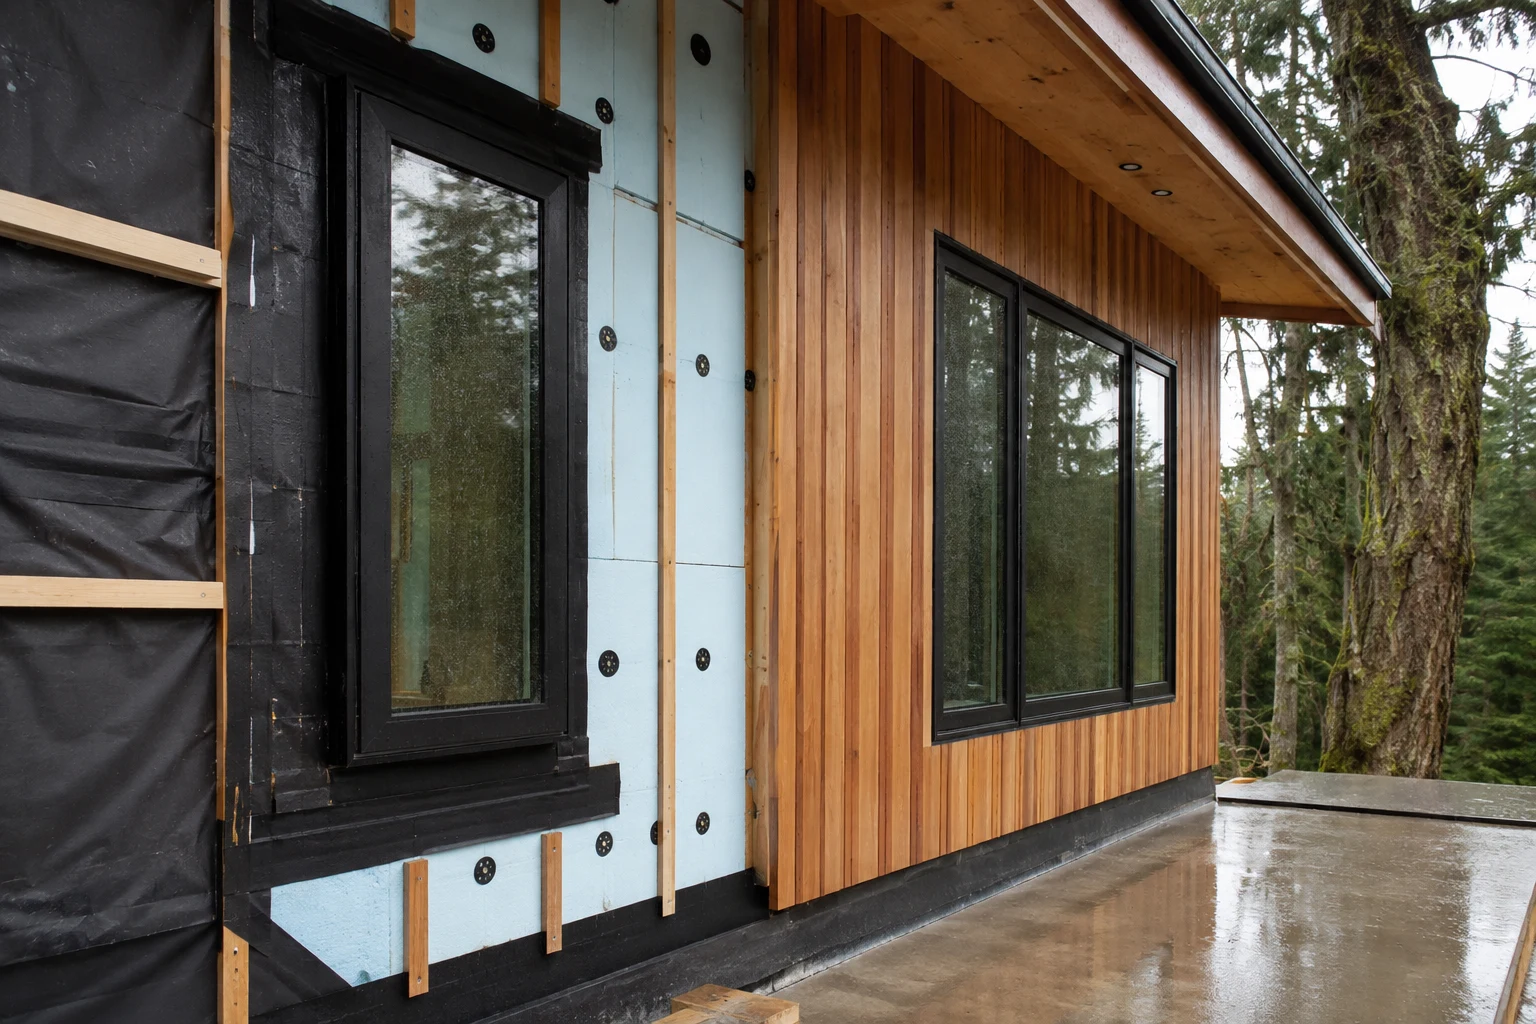
The building envelope is the set of assemblies that separates indoor conditions from outdoor conditions. Durable envelopes manage bulk water, airflow, water vapor, and heat with continuous control layers that connect across walls, roofs, foundations, windows, doors, and penetrations.
Key takeaways
- The envelope is a connected system, not a collection of isolated products.
- Water, air, vapor, and thermal control layers perform different jobs and may be combined in one material.
- Transitions at openings, roofs, foundations, decks, and penetrations usually carry more risk than the center of a simple wall.
- Drainage removes liquid water; drying releases retained moisture. A durable assembly needs an intentional strategy for both.
- Drawings should communicate installation sequence, compatibility, inspection access, and maintenance, not only finished appearance.
- Use the Building Materials hub to compare systems only after the control-layer strategy is clear.
What are the four control layers?
Water control
The water-control layer keeps rain and groundwater out of vulnerable materials and occupied space. It includes roofing, flashings, water-resistive barriers, waterproofing, drainage planes, foundation drainage, and the transitions between them.
The exterior finish may shed most rain without being the primary water-control layer. Open joints, laps, vents, and penetrations make this distinction important. Water should be directed outward through gravity, slope, shingled laps, flashings, and clear drainage exits.
Air control
The air-control layer limits uncontrolled airflow through the enclosure. Air leakage can carry heat and moisture, reduce comfort, move odors and pollutants, and create condensation at cold surfaces.
Continuity matters more than the product name. Draw the intended air barrier as a single line through wall, roof, floor, foundation, window, door, and service transitions. Every break in the line requires a connection detail and a responsible installer.
Vapor control
Vapor control manages moisture diffusion through materials. The appropriate strategy depends on climate, assembly, interior humidity, material properties, and drying direction.
A low-permeance layer can protect an assembly in one condition and trap moisture in another. Vapor decisions should be based on the complete assembly rather than a universal rule about which side receives a membrane. Air-transported moisture and vapor diffusion are different mechanisms and need separate analysis.
Thermal control
The thermal-control layer limits heat flow. Insulation works with air control, window performance, thermal-bridge reduction, and equipment design. Gaps and conductive framing paths can reduce whole-assembly performance even when cavity insulation values look high.
Continuous insulation can reduce bridging, but its thickness and location affect fasteners, cladding support, fire detailing, window alignment, and drying. The energy strategy therefore belongs in the same coordination process as water and air control.
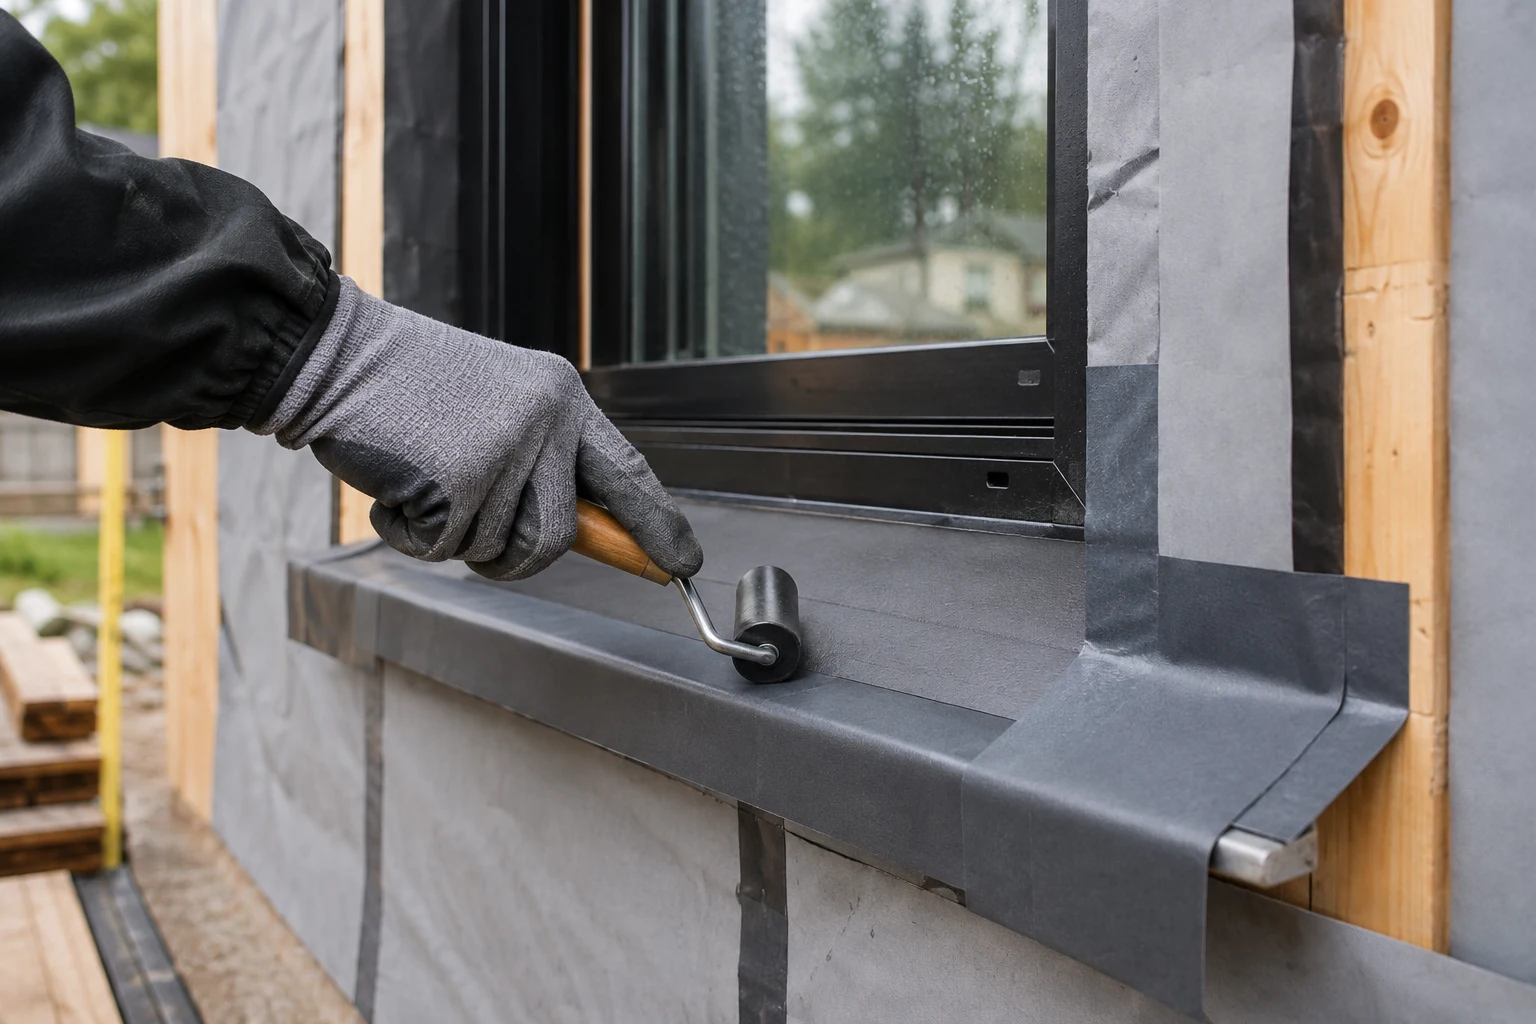
Ask four questions for every enclosure assembly
The same questions can be applied to a wall, roof, foundation, terrace, window transition, or mechanical penetration.
| Question | What the documents should show | Common gap |
|---|---|---|
| Where does water go? | Slopes, laps, flashings, drains, overflows, and discharge points | A membrane is specified but its termination is not detailed |
| What stops uncontrolled air? | A continuous air-control layer and sealed transitions | Air barrier changes materials without a tested connection |
| How can moisture dry? | Vapor profile, drainage space, ventilation, and exposure limits | Low-permeance layers trap construction moisture |
| Where does heat bypass insulation? | Continuous thermal boundary and treated bridges | Slabs, shelf angles, fasteners, and framing interrupt insulation |
A product data sheet may answer only part of one question. The construction documents must explain how products form a buildable system.
Why does continuity control performance?
Most envelope failures begin at transitions rather than the center of a simple wall. Review these locations explicitly:
- Roof-to-wall and wall-to-foundation connections
- Window and door rough openings
- Deck, balcony, canopy, and ledger attachments
- Parapets and roof edges
- Mechanical, electrical, and plumbing penetrations
- Changes in cladding or substrate
- Control joints and movement joints
- Below-grade to above-grade waterproofing transitions
Details should show sequence as well as final geometry. A correct lap that cannot be built in the planned order is not a complete detail. The drawings should also identify temporary conditions because a partially completed wall or roof may be exposed before the permanent drainage system works.
How do enclosure systems change by location?
Below-grade waterproofing manages soil moisture, hydrostatic pressure, drainage, and difficult future access. Above-grade walls manage rain, airflow, solar heat, vapor, and cladding loads. Roofs add ponding, snow, ice, rooftop equipment, and concentrated drainage. Fenestration adds manufactured assemblies with their own drainage paths, seals, anchors, and movement.
These systems meet at transitions. A waterproofed foundation must connect to the wall water-control layer above grade. A wall air barrier must connect to the roof and window assemblies. Balcony and canopy attachments must transfer structural load without creating uncontrolled water and heat paths.
The enclosure narrative should name the primary control layer in each assembly and the responsible trade at each transition. Otherwise, several subcontractors may assume that a connection belongs to someone else.
What is the difference between drainage and drying?
Drainage provides a path for liquid water to leave. Drying allows retained moisture to move by vapor diffusion or airflow. An assembly may drain well but dry slowly, or dry toward one side but not the other.
Rainscreen cavities can improve drainage and, depending on configuration, ventilation. They do not correct missing flashing, discontinuous water control, incompatible materials, or blocked exits. The rainscreen wall systems guide explains the difference between a basic drained cavity and an engineered pressure-moderated system.
Reservoir claddings such as masonry and stucco can absorb and store rain. Their stored moisture may move toward cooler or drier materials after the storm. Cavity depth, drainage, coatings, interior conditions, and solar exposure influence the result.
How should materials be matched to exposure?
Review membrane temperature limits, ultraviolet exposure limits, substrate requirements, fasteners, sealants, primers, tapes, and chemical compatibility. Confirm whether tested assemblies match the proposed field condition.
For coastal work, corrosion resistance and dissimilar-metal contact require attention. For wildfire exposure, the whole exterior assembly matters. A single ignition-resistant product does not establish assembly performance.
Use the exterior cladding guide to compare finish families by weight, water behavior, movement, fire context, maintenance, and repairability. In the Pacific Northwest, the regional construction guide adds rain, seismic, wildfire, snow, and permitting context.
Coordinate structure, fire, and energy requirements
The envelope cannot be optimized in isolation. Exterior insulation and cladding attachments affect structural loads, thermal bridging, fire-stopping, drainage, and constructability. Larger cavities may require engineered attachment systems or fire-blocking provisions. Combustible components may be limited by building type, height, property-line conditions, or adopted code provisions.
Window size and placement influence daylight, heat loss, solar gain, water exposure, and structural framing. Roof overhangs can reduce wall wetting but also affect wind forces, wildfire detailing, and setbacks. Every apparent envelope improvement should be checked against the complete project requirements.
Avoid copying an assembly from another climate or building without reviewing interior humidity, exterior exposure, material permeance, and local code. A wall that dries safely in one direction in a mild marine climate may behave differently in an air-conditioned coastal building, a cold mountain site, or a high-humidity occupancy.
Turn design intent into a construction sequence
Create an enclosure coordination meeting before affected materials are purchased. Review substrate readiness, trade boundaries, shop drawings, mockups, penetrations, temporary protection, and hold points.
A useful sequence is:
- Confirm the substrate and tolerances required by the control layers and cladding.
- Install and inspect concealed flashings before adjacent work blocks access.
- Connect water and air layers at openings and transitions.
- Complete a representative mockup using the actual trades and materials.
- Test the mockup when project risk justifies it, then record accepted repairs.
- Repeat field observations before large areas are concealed.
- Protect completed work from later fasteners, equipment, landscaping, and cleaning.
The rainy-climate construction guide adds wet-weather storage, temporary enclosure, and moisture-verification steps.
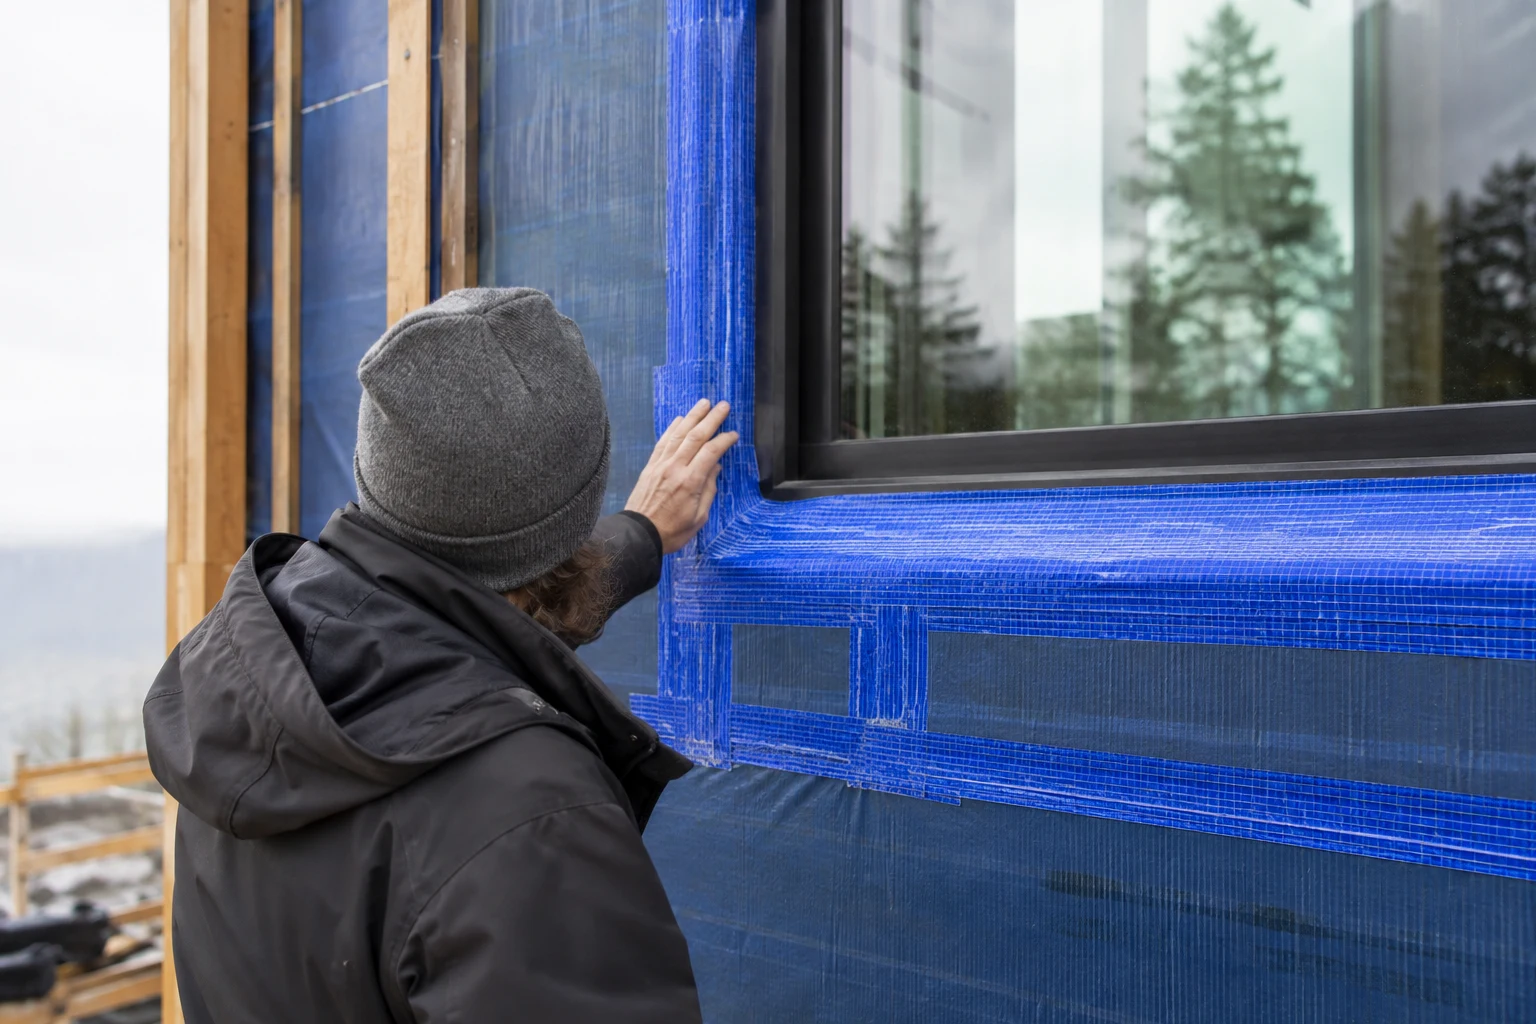
Verify performance before concealment
Quality assurance should be proportionate to consequence. A low-rise wall with generous overhangs and simple windows may need a different program from an exposed multistory facade over occupied space. The project team should define inspection and testing before bidding so the work is priced and scheduled.
Possible verification includes substrate inspection, adhesion testing, fastener observations, membrane thickness checks, sealant joint review, window water testing, whole-building air-leakage testing, infrared review, and moisture measurements. A test is useful only when the documents define the sample, timing, acceptance criteria, reporting, and repair process.
Photograph concealed conditions with location information. Photos do not replace inspection, but they improve closeout records and future troubleshooting.
Plan for inspection and maintenance
No exterior system is maintenance-free. Sealants, coatings, joints, flashings, drains, screens, cladding attachments, and exposed transitions age at different rates. The closeout package should identify inspection frequency, safe access, cleaning limits, replacement materials, and conditions that require professional evaluation.
Keep drainage outlets visible. A concealed cavity cannot perform if landscaping, paving, sealant, mortar, debris, or insect screens block its exit. Investigate staining, corrosion, displaced cladding, failed sealant, interior moisture, or repeated repairs as symptoms of a system problem rather than treating only the visible finish.
Building envelope checklist
- Draw each control layer continuously through a building section
- Detail every opening, penetration, attachment, and material change
- Identify drainage exits and keep them open
- Confirm drying direction and vapor profile
- Coordinate air sealing with ventilation
- Review thermal bridges at structure and attachments
- Confirm product compatibility and substrate preparation
- Plan inspection and testing before concealment
- Record completed conditions for maintenance
Common questions
Is the exterior cladding the water barrier?
Usually not by itself. Most claddings shed much of the rain, while a water-resistive barrier, flashings, and drainage path manage water that passes the outer surface. The exact arrangement depends on the system.
Are air barriers and vapor retarders the same?
They control different transport mechanisms. An air barrier limits airflow; a vapor retarder limits diffusion. One material can perform both roles, but the continuity and location requirements still need separate analysis.
Does more insulation always improve durability?
Insulation changes surface temperatures and drying behavior. It can improve condensation control when correctly located and continuous, but the whole assembly must be evaluated for water entry, air leakage, vapor flow, and construction moisture.
When is a rainscreen useful?
A drained space behind cladding is useful where exposure, reservoir claddings, finish sensitivity, or desired drying capacity justify it. The cavity must be designed with open exits, compatible flashings, structurally adequate attachments, and appropriate insect or fire detailing.
Sources and limitations
This guide was reviewed against the U.S. Department of Energy Building America Solution Center, the DOE Building Science Education control-layer resources, the EPA Moisture Control Guidance, and the Whole Building Design Guide building envelope resources.
Envelope design is climate-, occupancy-, and assembly-specific. Qualified professionals should evaluate condensation, structure, fire, energy, and code requirements for the project.
Related articles
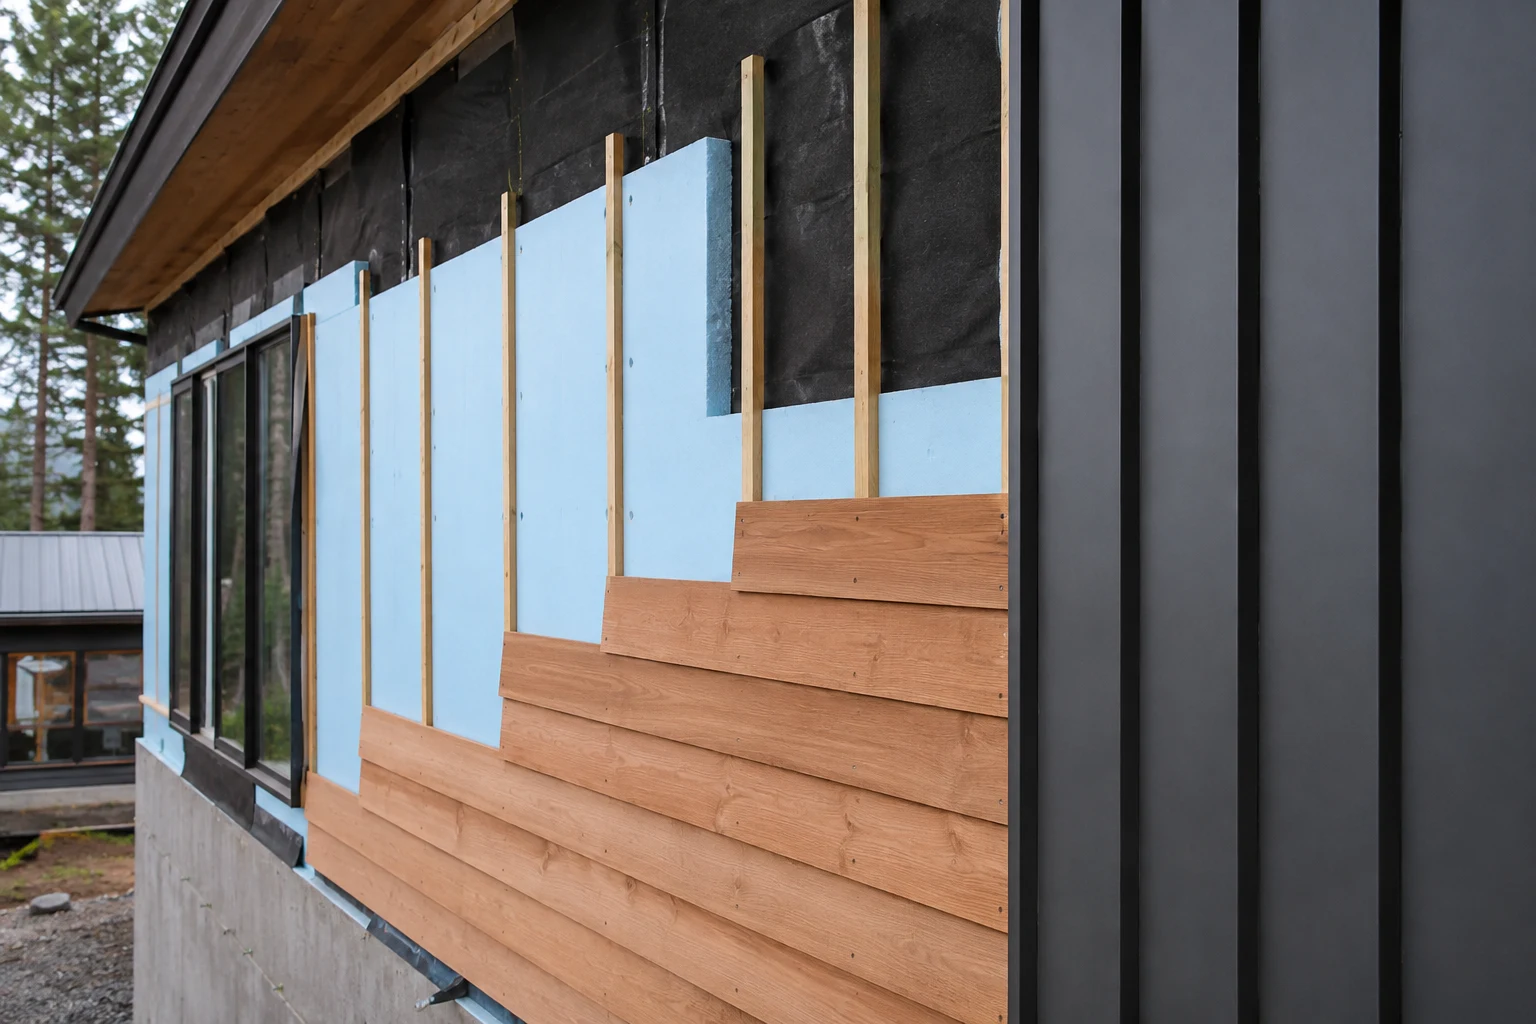
Rainscreen Wall Systems: Design and Construction Guide
How rainscreen walls manage rain, drainage, drying, pressure, attachments, openings, fire, insects, installation, and maintenance.
Read article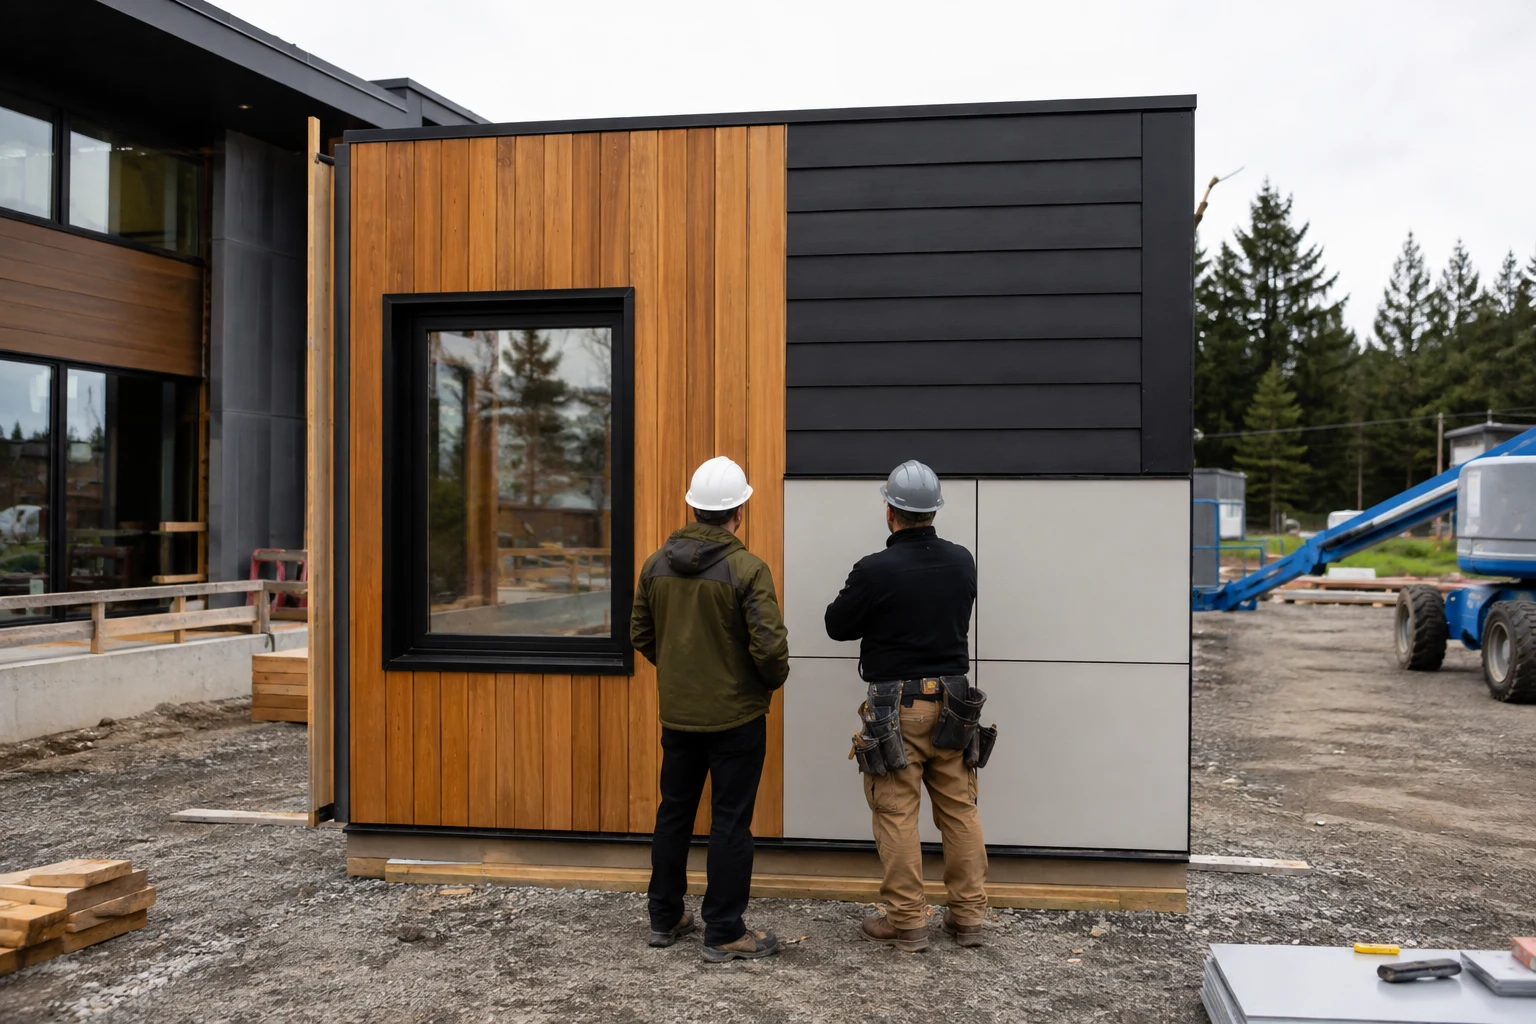
Exterior Cladding Guide for West Coast Buildings
How to compare exterior cladding by climate exposure, drainage, structure, fire context, installation, maintenance, repairability, and total project fit.
Read article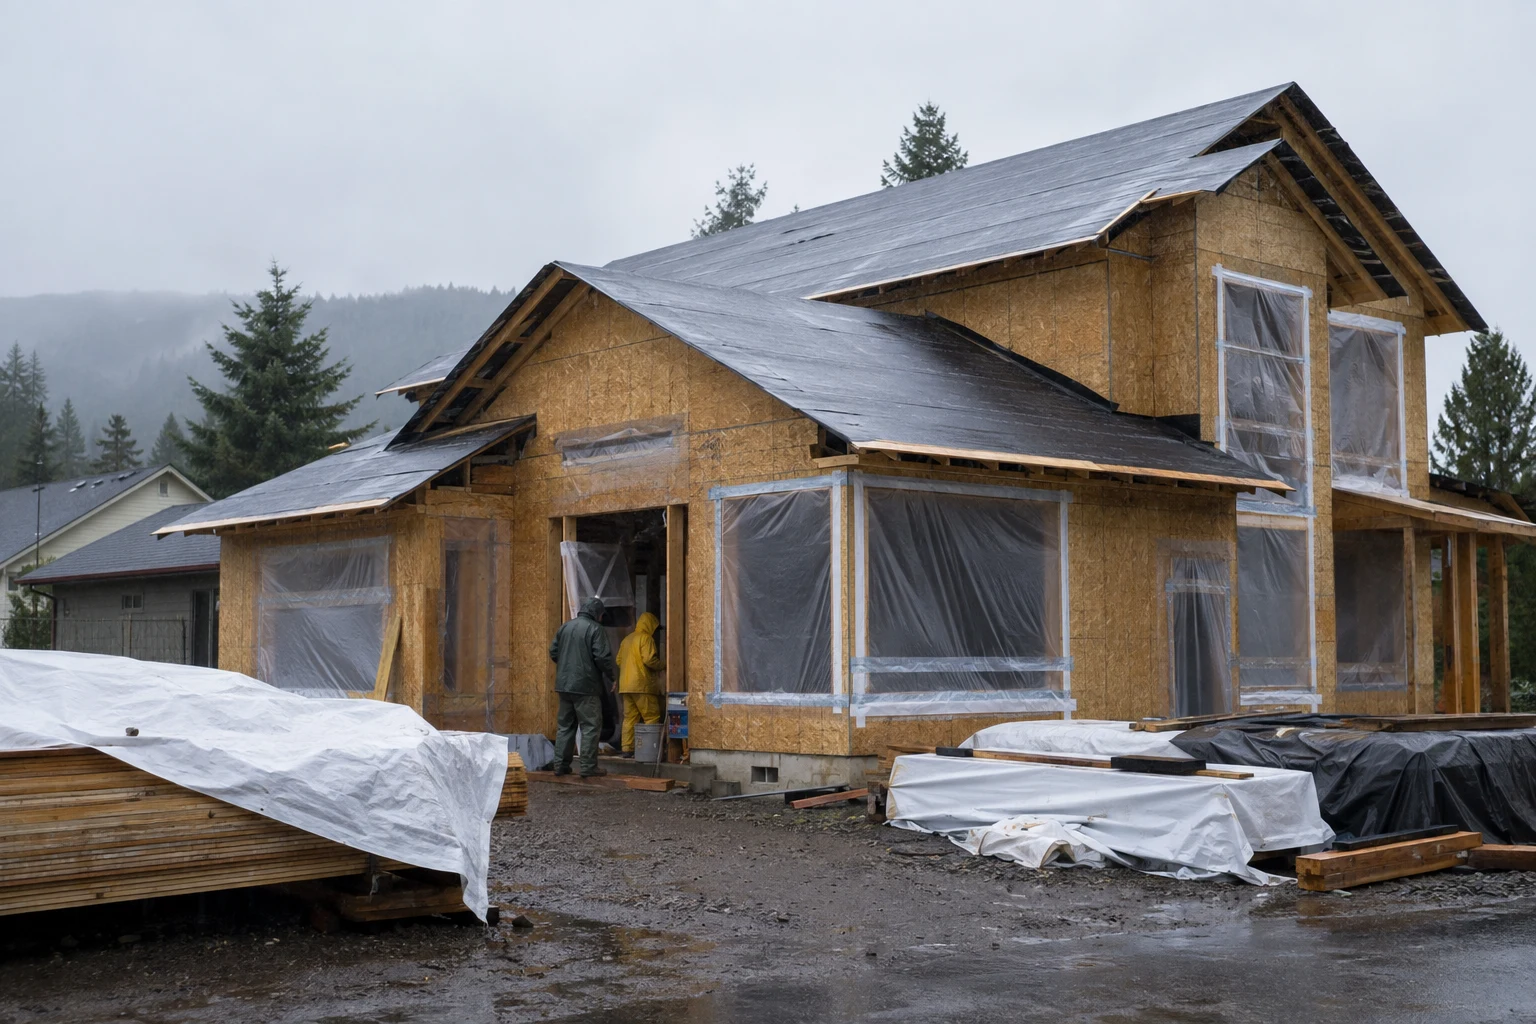
Building for Rainy Climates
Construction priorities for wind-driven rain, drainage, flashing, temporary protection, drying, and moisture verification in wet West Coast regions.
Read article